
That faint, persistent hiss of water running from the bathroom isn't just an annoyance that keeps you up at night. It is the sound of money literally swirling down the drain. A toilet that won't stop running can waste up to 200 gallons of water per day, and in severe cases, it can silently drive your water bill up by hundreds of dollars a year. While it might seem like a job that requires an emergency plumber, the internal mechanics of a toilet tank are surprisingly straightforward. More often than not, the fix requires nothing more than a simple adjustment or a $10 part from the hardware store.
Before you pick up the phone, take a look inside the tank. Here are the five most common culprits behind a running toilet and exactly how to silence them for good.
1. The Flapper is Worn Out or Warped
This is the number one reason toilets run. The flapper is the rubber plug at the bottom of the tank that lifts when you push the handle. Over time, the rubber hardens, warps, or develops cracks due to age or harsh chemical toilet bowl cleaners. When this seal fails, water silently seeps from the tank into the bowl.
The Telltale Sign:
- The toilet randomly starts refilling itself every few minutes without anyone having flushed it.
The DIY Fix:
- You don't need a plumber for this. Shut off the water supply behind the toilet and flush to empty the tank.
- Inspect the Seal: Run your finger around the edge of the flapper. If it feels brittle, mushy, or uneven, it needs to go.
- Find a Match: Remove the old flapper (it usually just unhooks from the sides of the overflow tube) and take it to the hardware store to ensure you get the correct replacement size.
- Install and Adjust: Attach the new flapper and reconnect the chain. Pro Tip: Leave about half an inch of slack in the chain. Too tight, and it won't seal; too loose, and the chain can get trapped under the flapper, holding it open.
2. The Float is Set Too High
The float is the device that tells your toilet when to stop filling. It rides on the surface of the water. If it is set too high, the water level rises above the top of the overflow tube (the open pipe in the middle of the tank). Once water spills over that tube, it never stops because the tank never reaches "full" status.
The Telltale Sign:
- You can see a steady stream or trickle of water flowing over the top of the open overflow pipe. The water never shuts off completely.
The DIY Fix:
- Adjusting the water level is free and takes seconds.
- For Older Ball Floats: This is the large plastic ball on a metal rod. Simply bend the metal rod downward gently. This makes the ball sit lower in the water, shutting off the valve sooner.
- For Modern Float Cups: This is a cylindrical float that slides on the fill valve shaft. Look for a screw on top of the valve or a pinch clip on the side of the float. Turn the screw clockwise or slide the clip down to lower the float. The ideal water level is about 1 inch below the top of that overflow tube.
3. The Flapper Chain is Tangled or Too Tight
Sometimes the fix is so simple it gets overlooked. After a flush, if the chain connecting the flush handle to the flapper is too short, it will hold the flapper slightly ajar. If it's too long, it can slip under the flapper as it closes, creating a gap for water to escape.
The Telltale Sign:
- The toilet runs, but when you remove the tank lid and gently jiggle the handle, the running sound stops. Alternatively, you might see the chain stuck underneath the rubber seal.
The DIY Fix:
- Untangle: Simply reach in and free the chain if it's caught.
- Adjust Slack: You want the chain to have a slight "J" shape droop when the flapper is closed. If there is excess chain hanging down, use a pair of wire cutters to trim off the extra links, leaving just a few inches of slack.
4. The Fill Valve is Failing
The fill valve is the tall mechanism on the left side of your tank responsible for bringing in fresh water. If you've adjusted the float and the water is still flowing over the top, the valve's internal diaphragm may be clogged with sediment or simply worn out. This prevents the valve from shutting off the water pressure even when the float is in the "up" position.
The Telltale Sign:
- You hear a very high pitched squeal or a constant, loud hissing that doesn't stop even when you manually lift the float arm to its highest point.
The DIY Fix:
- Replacing a fill valve is a standard DIY project that takes about 20 minutes.
- Shut Down and Drain: Turn off the water supply and flush to empty the tank. Sponge out any remaining water at the bottom.
- Disconnect: Unscrew the water supply line from the bottom of the toilet tank.
- Remove Old Unit: Unscrew the large plastic locknut holding the fill valve in place inside the tank. The whole unit will lift right out.
- Install New: Set the new valve in place (adjusting its height to match your tank depth) and tighten the locknut hand-tight plus a quarter turn with pliers. Do not overtighten, as this can crack the porcelain or plastic.
5. Mineral Buildup on the Flush Valve Seat
If you replace the flapper and the toilet still runs, the issue might not be the rubber seal, but the surface it seals against. The flush valve seat is the circular opening at the bottom of the tank. In areas with hard water, calcium and lime deposits can build up here, creating a bumpy, uneven surface that prevents the flapper from making a watertight connection, making professional toilet repair necessary.
The Telltale Sign:
- The toilet runs slowly, and when you run your finger around the lip of the flush valve opening (where the flapper rests), it feels rough or gritty instead of smooth.
The DIY Fix:
- Scrub the Surface: Turn off the water and drain the tank completely. Use a piece of fine grit sandpaper, steel wool, or even a scouring pad to gently buff away the mineral ring until the plastic rim feels smooth again.
- Flush It Out: Wipe away the debris and turn the water back on. This restores the perfect seal without replacing any major plumbing components.
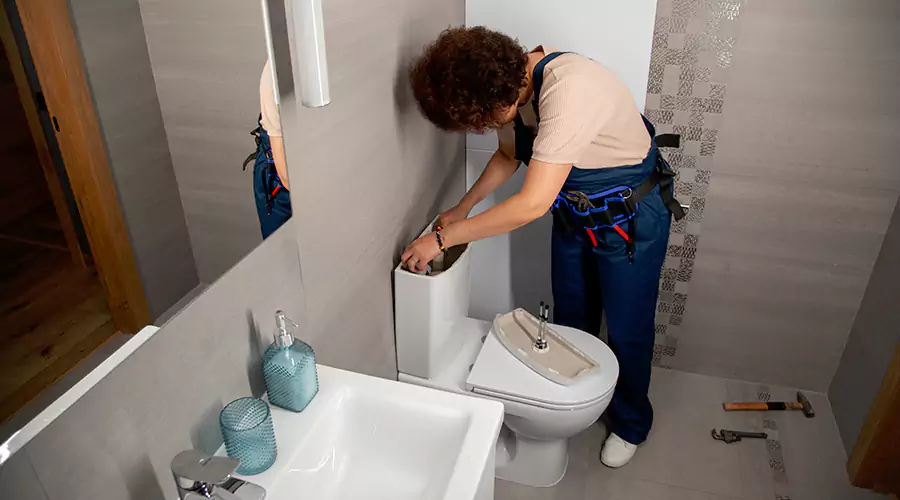
When to Call a Professional?
While most running toilets are a simple Saturday morning fix, there are times when it's best to step back and let a professional handle it. If you notice cracks in the porcelain tank or bowl, if the water supply valve at the wall is corroded and won't turn, or if you've tried all five fixes above and the toilet is still cycling water, it may be time for a deeper diagnostic. Persistent leaks that defy the standard fixes could indicate a hidden crack in the flush valve gasket or a more complex pressure issue that requires a licensed plumber's expertise.
Stop Wasting Water Today
You don't need to be a master plumber to silence a running toilet. With a few basic tools and a keen eye, you can stop the noise, save gallons of water, and prevent that shock on next month's utility bill. Take five minutes to open the lid and diagnose the culprit chances are, it's one of these five simple issues waiting to be fixed.